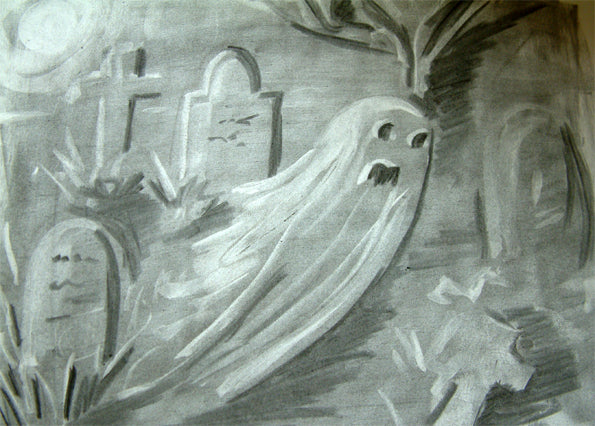
Smudgy ghost art!

Dark, moody scenes like this graveyard picture are ideal for demonstrating to children how light and dark are used to create form and shape. The darkness is drawn in with smudgy charcoal, then light is drawn in by rubbing away with an eraser. If the source of light, a moon for example is also included, it helps when knowing where to put the light and shade.

1.Select a piece of charcoal, careful, because it's very smudgy!

2. Draw out roughly the picture that you have in your mind, remember, the scarier, the more effective it will be when doing light and dark pictures. Don't forget to draw in the source of light. Is it a candle, a moon, a torch? Once you have done this, using the side of your charcoal cover the whole picture with dark strokes.

3.Here's the messy bit, smudge the charcoal all over the paper. and blow of the residue charcoal. Take your eraser, and carefully rub away the dark charcoal leaving light. You should still be able to see your first drawn lines underneath. If there is only one light source, only one side of your objects will be lit up.
When you are happy with your revealed light, you should take the charcoal stick and add some really dark bits to your picture. Remember those dark bits are those hidden from the light source and are usually on the opposite side to the light bits.
Looking for more inspiration for ghostly halloween art?
Caspar David Friedrich was a master at painting eerie looking scenes and achieving a ghostliness through his use of high contrast lights and darks....check out the spooky black trees in this painting...'The abbey in the oakwood'


